I love cherry tomatoes, and cherry tomato plants. They are so easy to grow. They cost about $2 for a seedling and when they grow and really get going, they will produce quarts and quarts of the most delicious cherry tomatoes you’ll ever eat. The ones you can buy at the grocery, even the really fancy, expensive stores, are probably picked green and either left to ripen in the box or gassed with CO2 to make them turn red, so they LOOK delicious, but they have a taste that is similar to eating a magazine photograph of a tomato. If you have never eaten a cherry tomato right off of the plant, you have never really tasted a cherry tomato. There is no comparison and afterward, you will never be satisfied with store-bought cherry tomatoes again. I harvest a pint to a quart of cherry tomatoes, both red and yellow, almost every day, and I’d say at least a cup of them never make it into the house. I would encourage you to plant your own cherry tomato plant next spring (it’s too late in the season now). Or become very good friends with someone who grows them, and you’ll probably be gifted with some. I give them away by the pint, because even though I love them, and eat them like candy, there are only so many I can eat in a day and I will eventually become tired of them, at which point, I pass them around to all my loved ones. Mmmm, I think it’s time to go harvest…
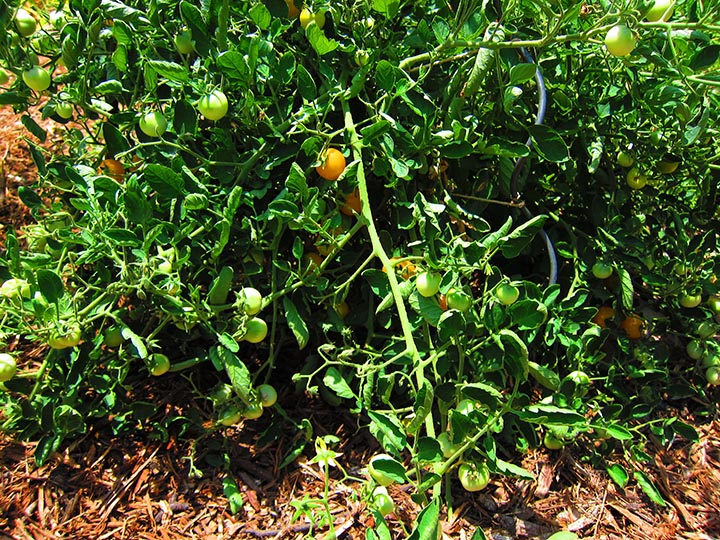
Yellow cherry tomato plant, ready for picking.
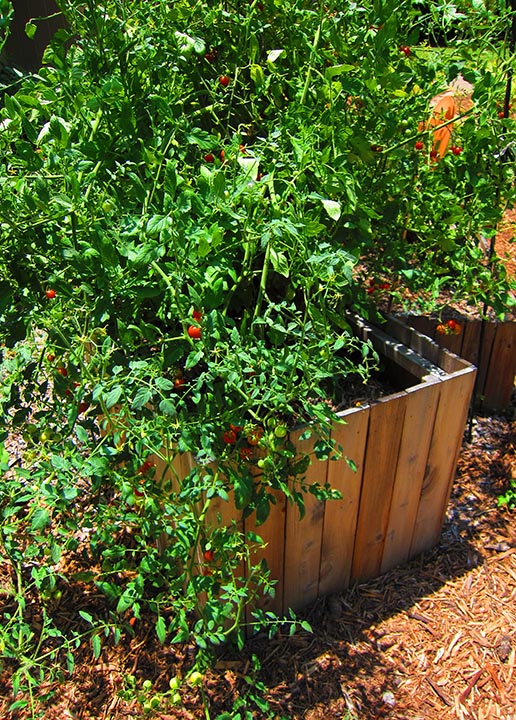
Red cherry tomato plant, loaded with fruit.
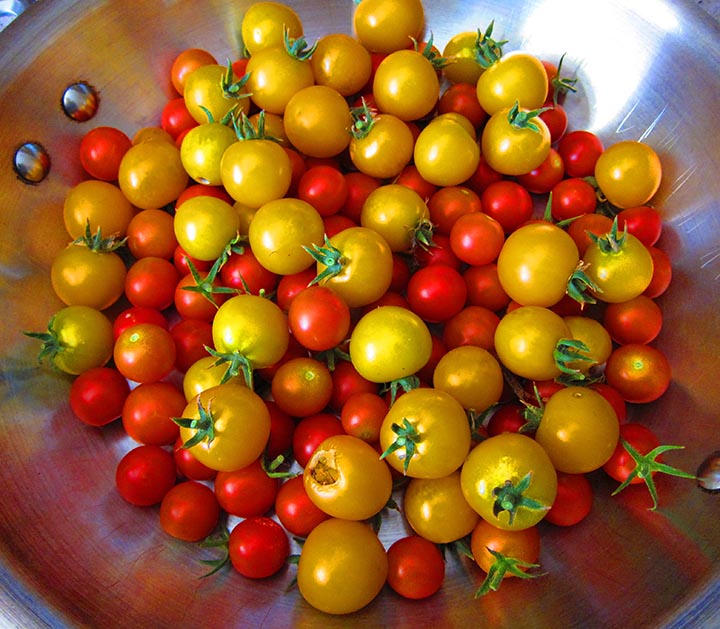
Todays harvest. Amazing!